Building automation systems have been used for decades to control everything from lighting systems to heating and cooling systems, mostly in larger commercial and industrial buildings. These systems were expensive and required significant knowledge to install and run them. Over the last few years, manufacturers have been working to bring similar types of automation systems to market that are suitable for use in homes. Now, a homeowner can control just about every aspect of their house from their smartphone or computer with little to no technical knowledge necessary.
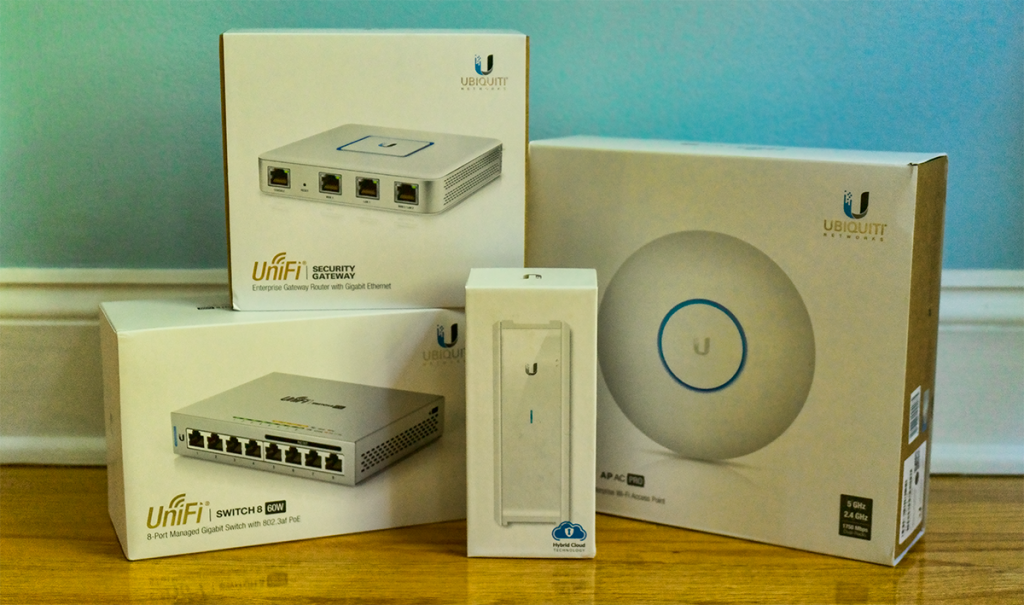
With my Wi-Fi and network issues pretty much solved, I began to investigate ways to automate other systems around the house. The first thing that came to mind was lighting. I wanted a simple, yet smart, way to control lights without having to replace bulbs or fixtures. The system should allow circuits to be controlled with local switches as well as various types of scheduling scenarios via computer or smart phone. Random on and off functionality when no one is home would be a bonus.
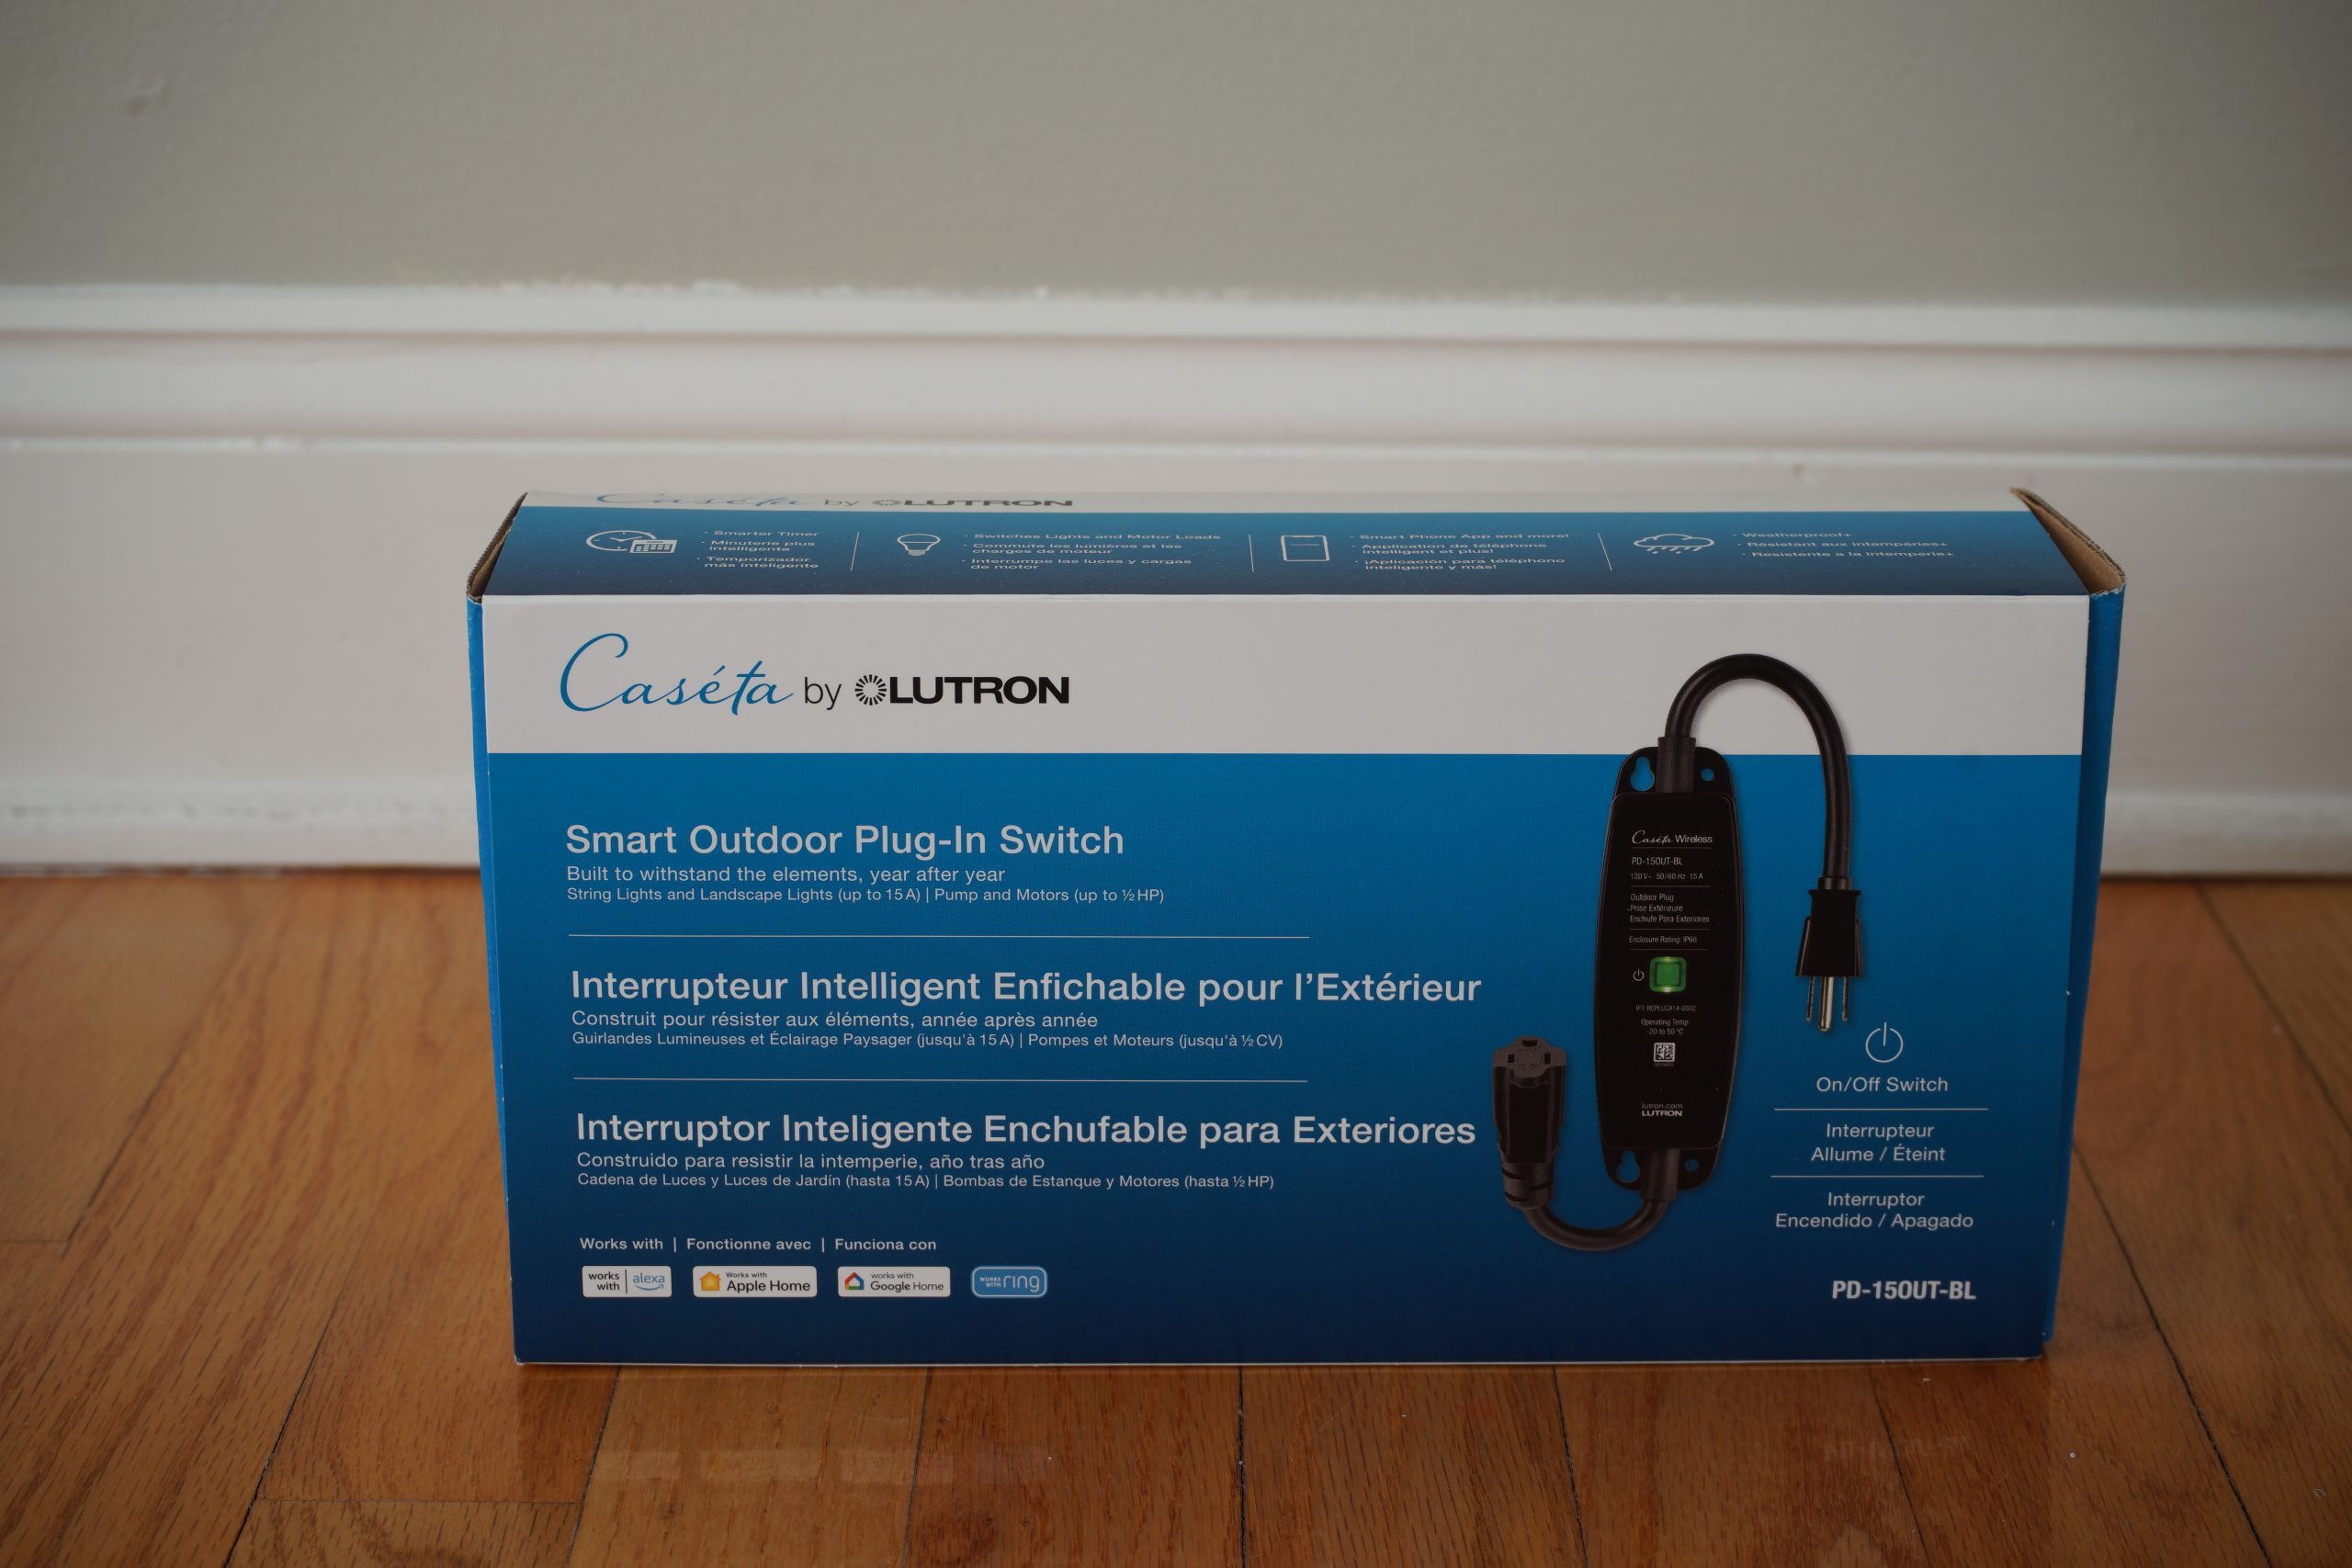
There seem to be plenty of automated lighting control options for the home with each having its own pros and cons. Systems are controlled wirelessly via several different protocols (Wi-Fi, Zwave, Bluetooth, etc.) and feature either switches or bulbs with embedded controllers allowing homeowners to use their existing light fixtures. In the end and after significant research, I decided to go with the Lutron’s Caseta system.
LUTRON CASETA ECOSYSTEM
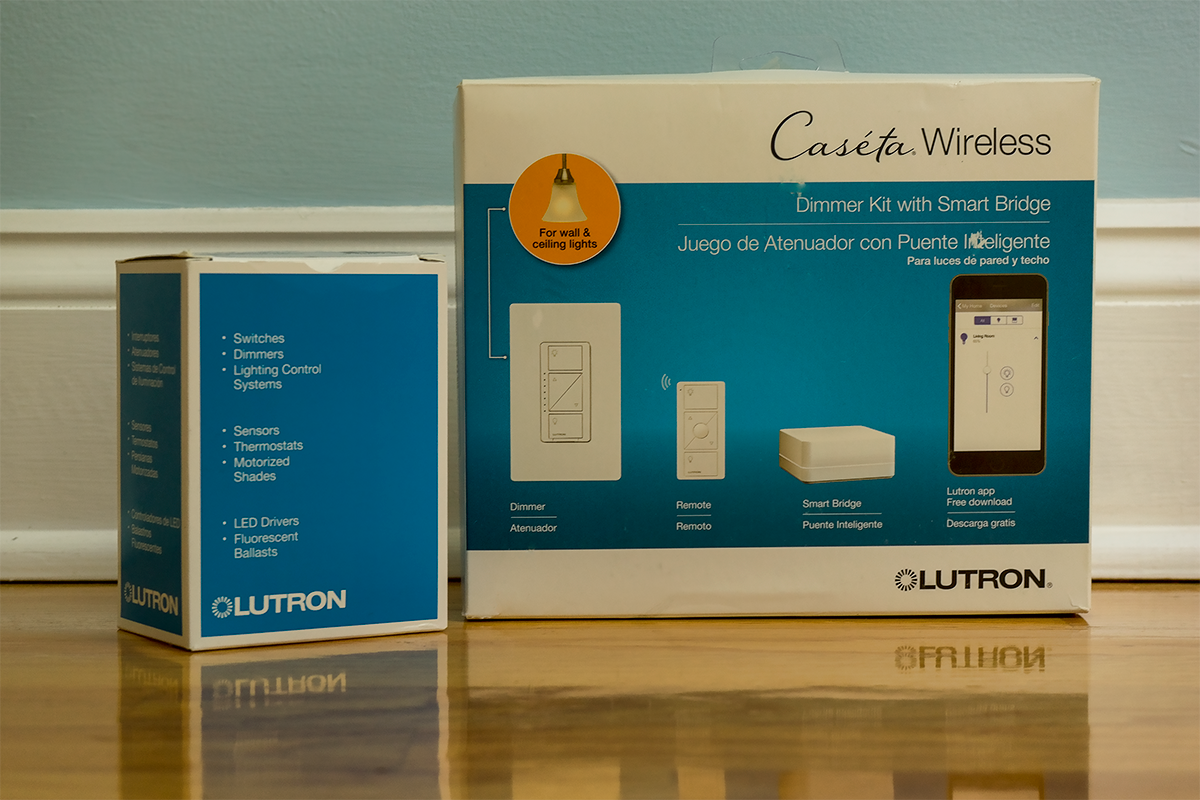
Lutron is a reputable company that has been in the lighting game for a long time. The Caseta system consists of a controller, a smart plug for lamps and a variety of different switches. It easily integrates with Sonos, Alexa, HomeKit, Nest, Ecobee, IFTTT, SmartThings, Harmony and other similar devices and systems. The required Smart Bridge connects to a network through a wired Ethernet connection and communicates wirelessly to switches via Lutron’s own Clear Connect technology rather than over Wi-Fi. Discounted bundles are available to help you get started that contain different switching devices along with the controller.
SYSTEM COMPONENTS
The Caseta system is composed of a single network bridge that works with various types of switches.
SMART BRIDGE | L-BDG2-WH

The Caseta Smart Bridge is the brains of the operation and communicates wirelessly to all of the system’s devices (within a 30ft radius), so it should be located centrally within the house. It comes with a power supply, Ethernet cable and a quick-start guide.
Key Features:
- Simple installation and setup
- Connects to a wide variety of smart home products and systems
- Utilizes Lutron’s Clear Connect technology rather that Wi-Fi for communications
- Supports up to 50 devices
Installation is a snap and requires nothing more than plugging it into power and connecting it to a router or switch. Once that is complete, you simply download the app from the Apple App Store or Google Play. There is currently no PC/Windows based software application available.
NON-DIMMING SMART LIGHT SWITCH | PD-6ANS WH

With the Smart Bridge successfully installed, you need to add devices for it to control. The number one priority for me was to automate three circuits of exterior lighting (front door sconces, garage door sconces and walkway light pole). Each circuit had its own switch and didn’t require dimming so the PD-6ANS was a perfect match.
Key Features:
- Replaces existing switches (*neutral wire required)
- Can be used to control light fixtures or small motor loads like fans
- Can be used for 2-button Pico remote controls
*Note about neutral wires:
Most manual switches that you will replace will only have three wires connected: line, load and ground. This switch requires that a neutral be connected, usually a white wire. My house was built in 1995 and I was pleasantly surprised to find neutral wires present and capped in all the switch boxes. Be sure to check to see if you have a neutral wire present before purchasing this switch. Running a neutral from the panel will most likely not be feasible, but other Caseta switches are available without this requirement.
ELECTRICAL INSTALLATION
Protect yourself and your house!
- Remove power from the circuit before starting work by flipping the appropriate circuit breaker. Verify that no power is present with a test light or multimeter.
- Remove the switch plate.
- Next, remove the screws securing the old switch and pull the switch out from the box.
- Finally, remove the wires from the switch.

Be sure to take note of, or mark, which wire is line (power source) and which wire is load (fixture to be powered).

Connect four or five wires to the new switch:
- Line, load, neutral, ground and traveler (3-way)
- Safe Off (cap) any unused wires
- Cap all connections
- Close the open circuit breaker to reapply power for testing purposes

You should see a small green light on the switch. If so:
- Remove power once again
- Push the switch into the back box
- Secure it with the supplied screws
- Reinstall the switch plate (you might need a different style) and reapply power

Pair the switch with the Bridge via the Lutron Caseta app.
It really is a easy installation process and shouldn’t take more than 10-15 minutes per switch. Every switch I installed paired with the Bridge and app the rst time with no issues. Setting up schedules and scenes in the app is simple and intuitive.

I started out with one of the Caseta starter kits that included the bridge and dimming switch. The Lutron Caseta system also offers additional control options:
DIMMER SWITCH | PD-6WLC-WH | $54.95USD
- No neutral wire required
MEMORY DIMMER SWITCH | PD-5NE-WH | $99.95USD
- Neutral wire required
- Favorite button remembers dimmer setting

SMART PLUG FOR LAMPS | PD-3PCL-WH | $47.95USD
- Controls up to two lamps
- Dimming capable
- First one extends Bridge range by 30′ Plugs into any wall outlet
PICO REMOTE CONTROLS
- PJ2-3BRL-WH | $14.95USD | Dimmer
- PJ2-2B-GWH | $54.95USD | Non-Dimmer
- PJ2-3BRL-GWH | $39.95USD | Audio Remote Control for Sonos

Impressions
The entire system has been rock solid since the initial installation and setup. Power cycles and loss of Internet had no affect. Scenes and schedules worked as intended and the ‘Away Mode’ also worked perfectly. I chose not to integrate with Alexa because voice activation doesn’t appeal to me and have not tested the lamp module but will very soon. The system doesn’t introduce any added traffic on my house WiFi which is a nice touch. As you can tell, I am thoroughly impressed with everything.
Keep in mind, that while this system worked well for my application, it may not be perfect for everyone. The neutral wire requirement for two of the system’s three switches may be an issue for people living in older homes. Having to rewire 120V switches may be intimidating for some and could also pose a danger for those that don’t follow safe electrical practices. Having an electrician do the installation might be costly if you aren’t a savvy DIYer willing to do the work yourself.
While none of those complaints directly affected me, I do have some minor gripes with the system. The cost of the system components is a bit higher than with other systems, especially those that do not require a proprietary controller. After shelling out $80 for the Bridge, shouldn’t it have a browser based interface to change settings and schedules? I also and it really hard to justify $100 for a single switch, just because I expect it to remember the last level of dimming. Minor gripes aside, the system is about as good as it gets.

Now that I feel comfortable with the Caseta system, I do plan to add more devices and methods of control. I plan to use a memory dimmer switch on the chandelier in the foyer, regular dimmers on other interior lights around the house, smart plugs for the lamps in the family room and will use the 2-button switches connected to receptacles that power the landscape lighting via transformers.